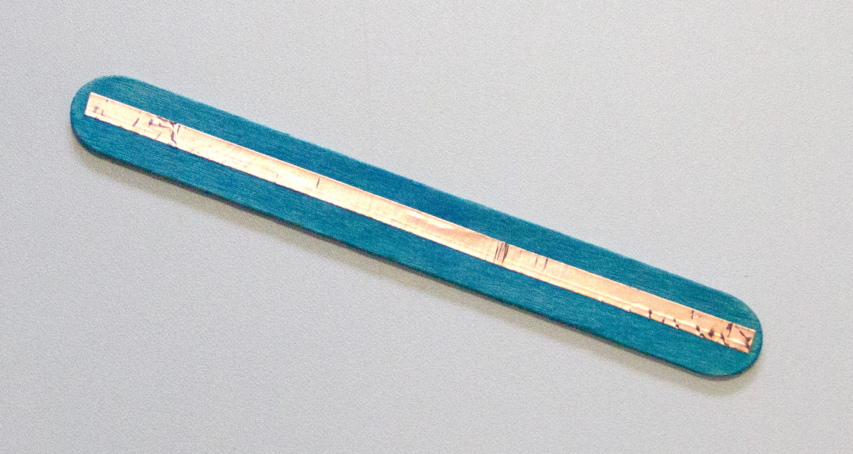
DIY flashlight

With this super simple flashlight you can not only take a closer look at things in our exhibition, but also illuminate your play worlds, explore the dark corners in the basement or examine someone’s throat like a doctor. You need:
- wooden stick (or made of cardboard)
- self-adhesive copper tape (or aluminium foil)
- adhesive tape
- LED
- button cell battery 3V (CR 2032)
- metal clamp
- scissors
- pen
How to build:


- LED and copper tapes: www.boxtec.ch
- Clamps are sold in shops for office supplies
- Batteries are available at retailers, like Migros and Coop
Comments The cover picture shows the DIY torch in front of the work “Polarizing Times” by Alan Bogana, which was shown in the exhibition “Swiss Media Art: knowbotiq, Alan Bogana, Félicien Goguey – Pax Art Awards 2019“. This manual was created as part of the Family Day workshop for this exhibition.